> ## Documentation Index
> Fetch the complete documentation index at: https://pro-docs.bglobale.com/llms.txt
> Use this file to discover all available pages before exploring further.
# Installation
 ## Prerequisites
The Global-e Wix application requires:
* A Wix store account.
* A Global-e Merchant account.
* A Global-e Merchant ID and a Merchant GUID (provided to you by Global-e).
* An administrator account for the Platform’s back-office of the store.
**Store Access**
If you need assistance from Global-e with your store, you must provide your CSM with store access by adding them to the Global-e Team in Wix.
1. Navigate to Settings > Team Management.
## Prerequisites
The Global-e Wix application requires:
* A Wix store account.
* A Global-e Merchant account.
* A Global-e Merchant ID and a Merchant GUID (provided to you by Global-e).
* An administrator account for the Platform’s back-office of the store.
**Store Access**
If you need assistance from Global-e with your store, you must provide your CSM with store access by adding them to the Global-e Team in Wix.
1. Navigate to Settings > Team Management.
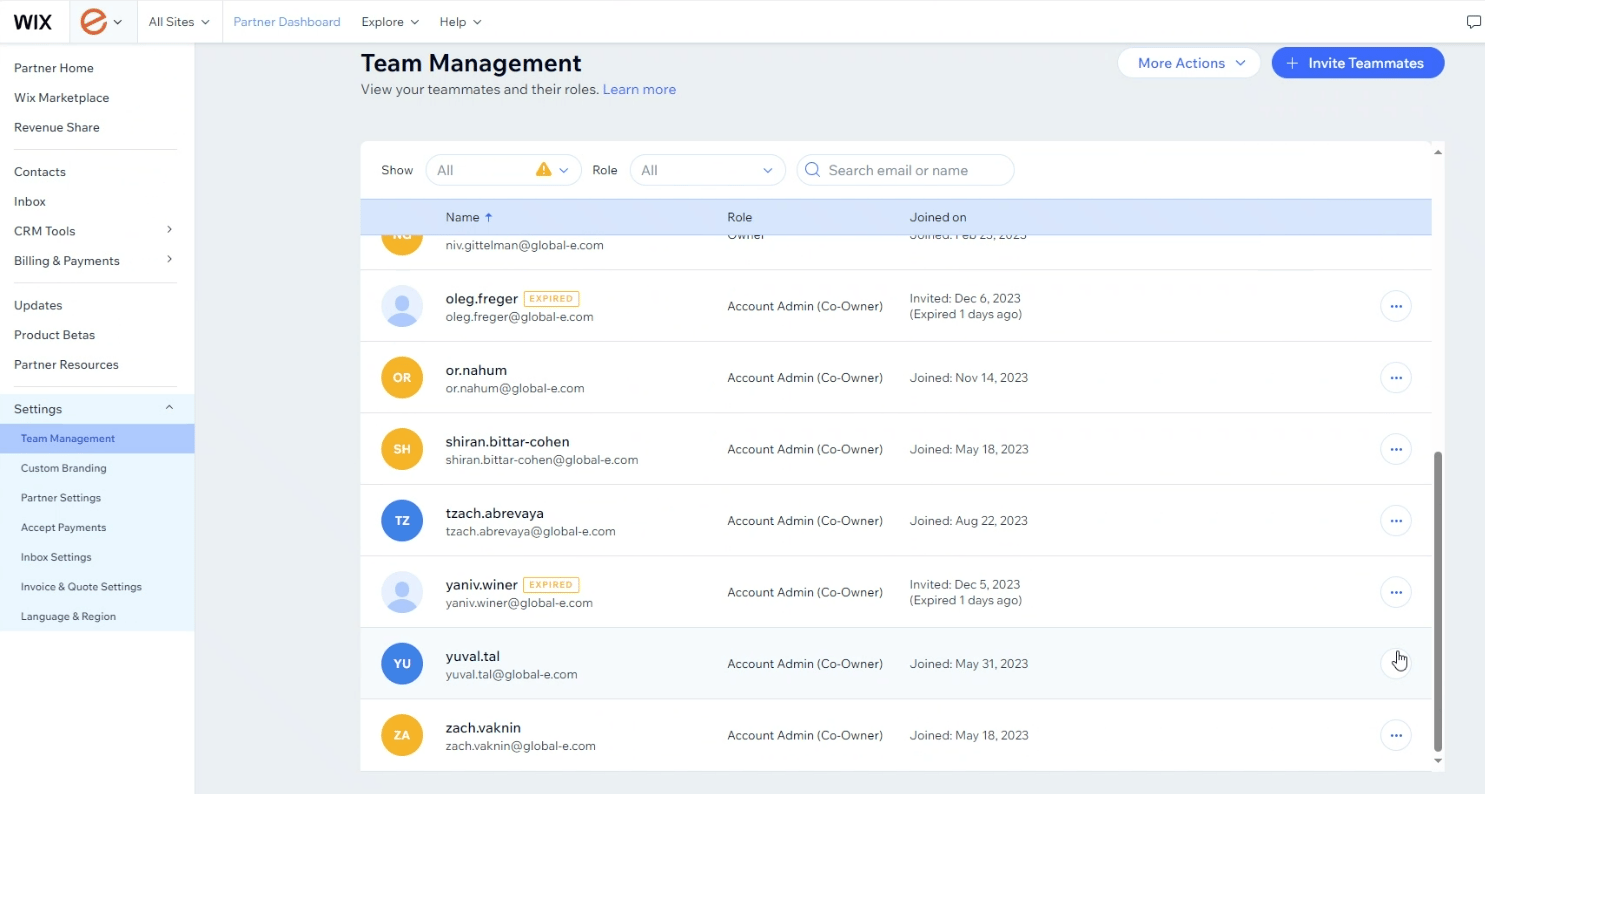 2. Click Invite Teammates.
The Invite Teammates page opens.
2. Click Invite Teammates.
The Invite Teammates page opens.
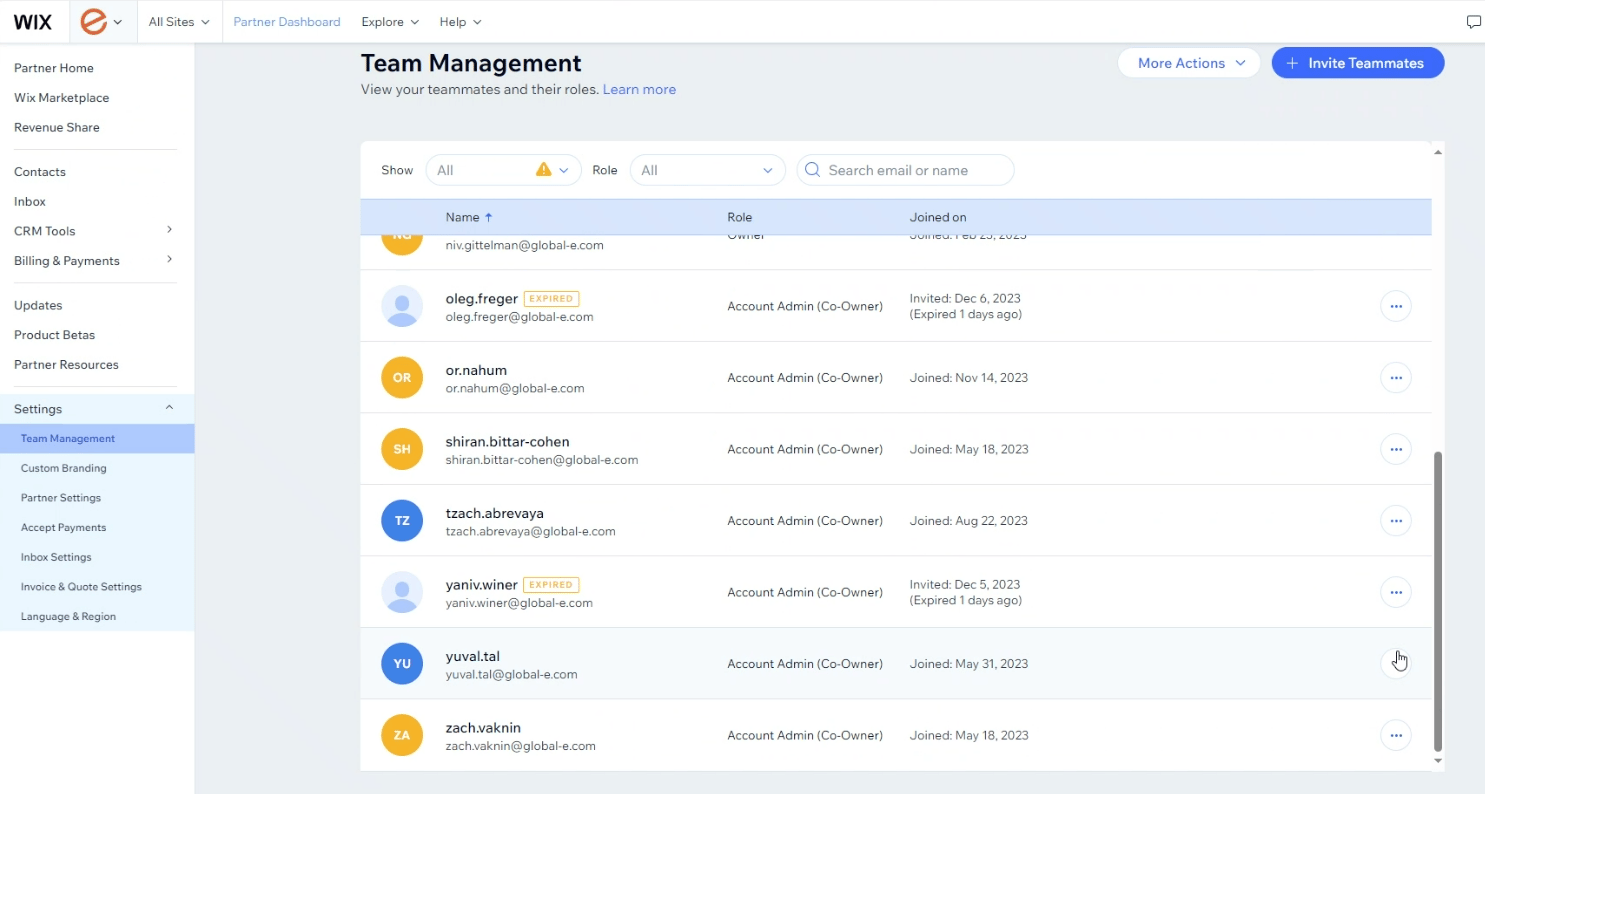 3. Input your CSM's email address.
4. Click Send Invite.
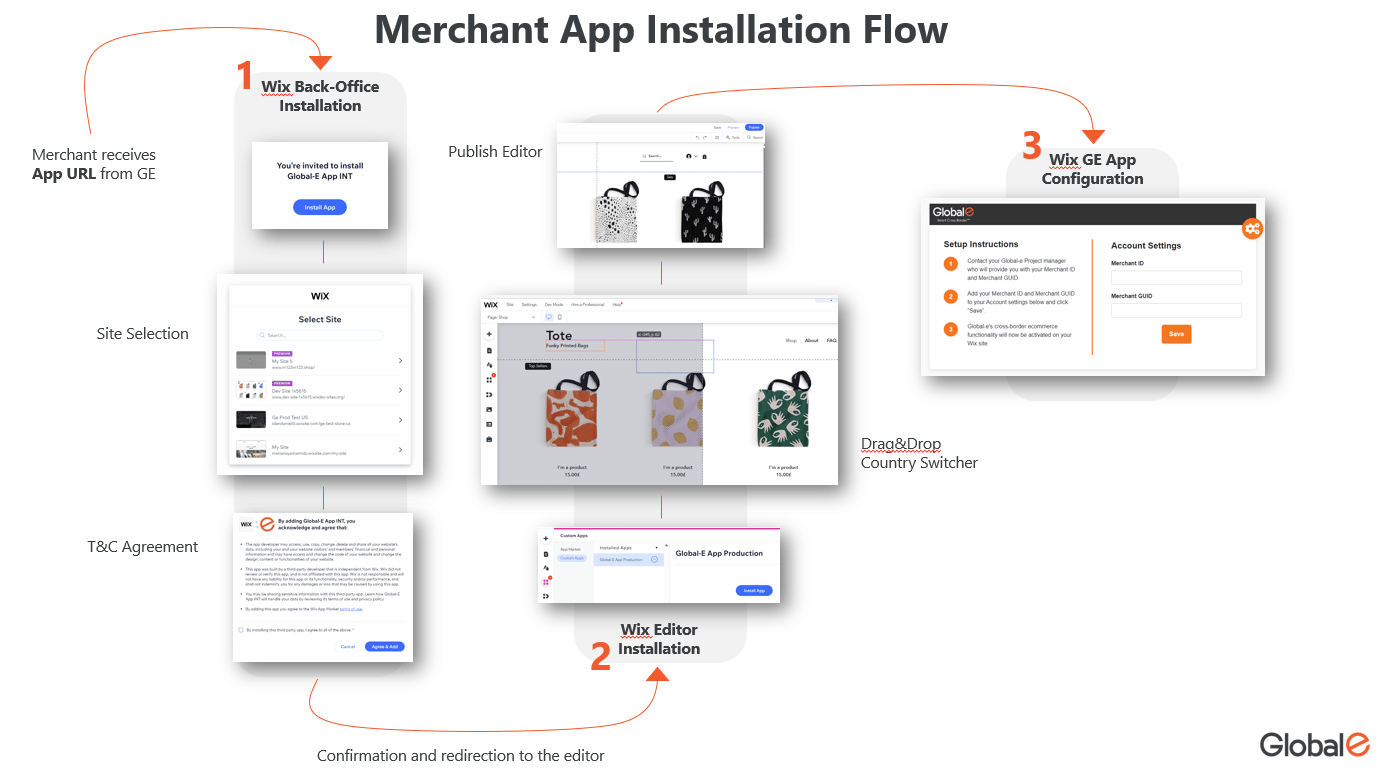
## Back-Office Installation
1. Click the relevant installation link:
* QA-INT Application - [http://wix.to/KcmB081](http://wix.to/KcmB081)
* Production Application - [http://wix.to/yURrd21](http://wix.to/yURrd21) (Integration is tested in GEM hidden mode)
A message opens asking you to install the application on your site.
3. Input your CSM's email address.
4. Click Send Invite.
## Back-Office Installation
1. Click the relevant installation link:
* QA-INT Application - [http://wix.to/KcmB081](http://wix.to/KcmB081)
* Production Application - [http://wix.to/yURrd21](http://wix.to/yURrd21) (Integration is tested in GEM hidden mode)
A message opens asking you to install the application on your site.
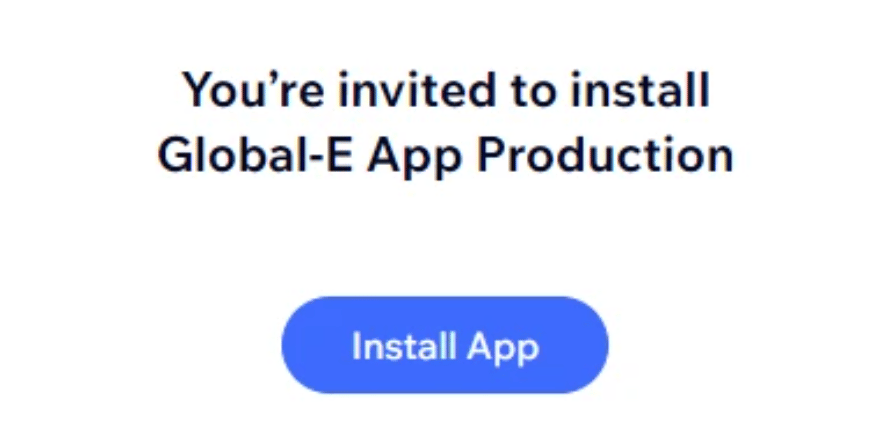 2. Click **Install App**.
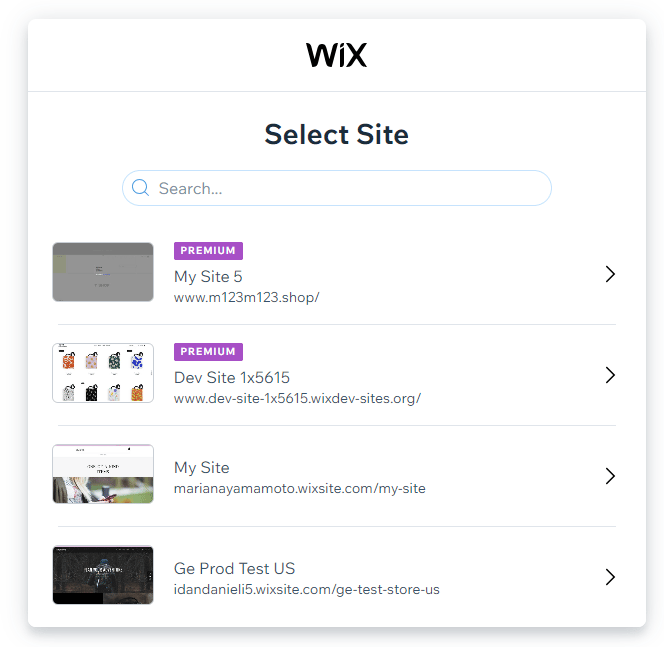
3. Select the store where you wish to install the application.
2. Click **Install App**.
3. Select the store where you wish to install the application.
 A message opens asking you to approve the application permissions.
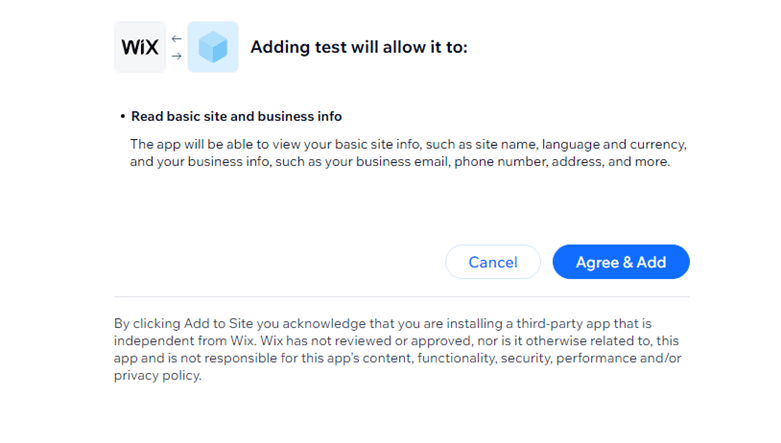 4. Click **Agree & Add**.
You are automatically redirected to the editor section of your site.
## Editor Installation
1. Navigate to **Custom Apps** > **Installed Apps**.
4. Click **Agree & Add**.
You are automatically redirected to the editor section of your site.
## Editor Installation
1. Navigate to **Custom Apps** > **Installed Apps**.
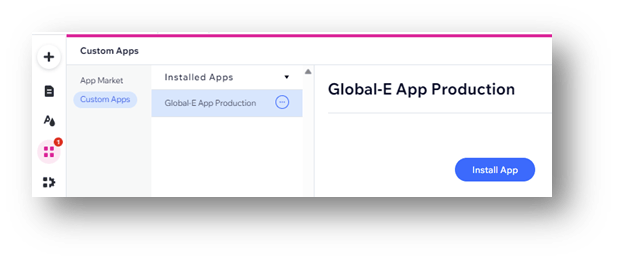 2. Select Global-e App Production and click **Install App**.
3. At the top-right click the + sign.
4. Select App Widget
5. Select the Country Switcher widget and drag it to the section where you want it to be located (this is usually the header).
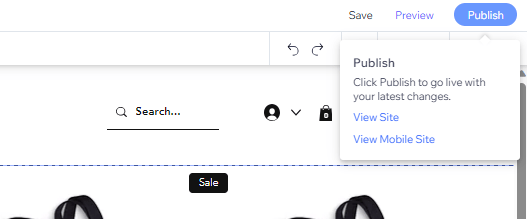
6. Click **Publish** to save the changes.
2. Select Global-e App Production and click **Install App**.
3. At the top-right click the + sign.
4. Select App Widget
5. Select the Country Switcher widget and drag it to the section where you want it to be located (this is usually the header).
6. Click **Publish** to save the changes.
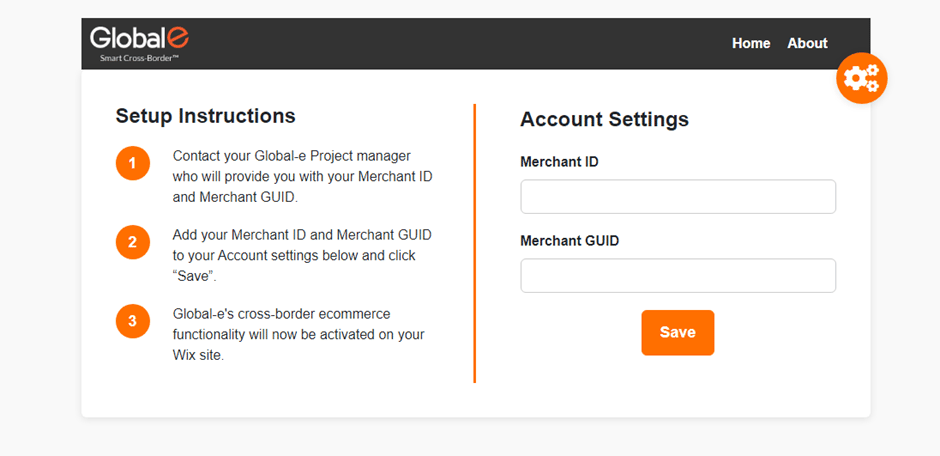
 **App Configuration**
Add your merchant ID and GUID to your account settings to complete the installation.
**App Configuration**
Add your merchant ID and GUID to your account settings to complete the installation.
 ## To Uninstall the App
Follow the steps below to uninstall the Global-e app from your website.
1. Navigate to Apps > Manage Apps.
## To Uninstall the App
Follow the steps below to uninstall the Global-e app from your website.
1. Navigate to Apps > Manage Apps.
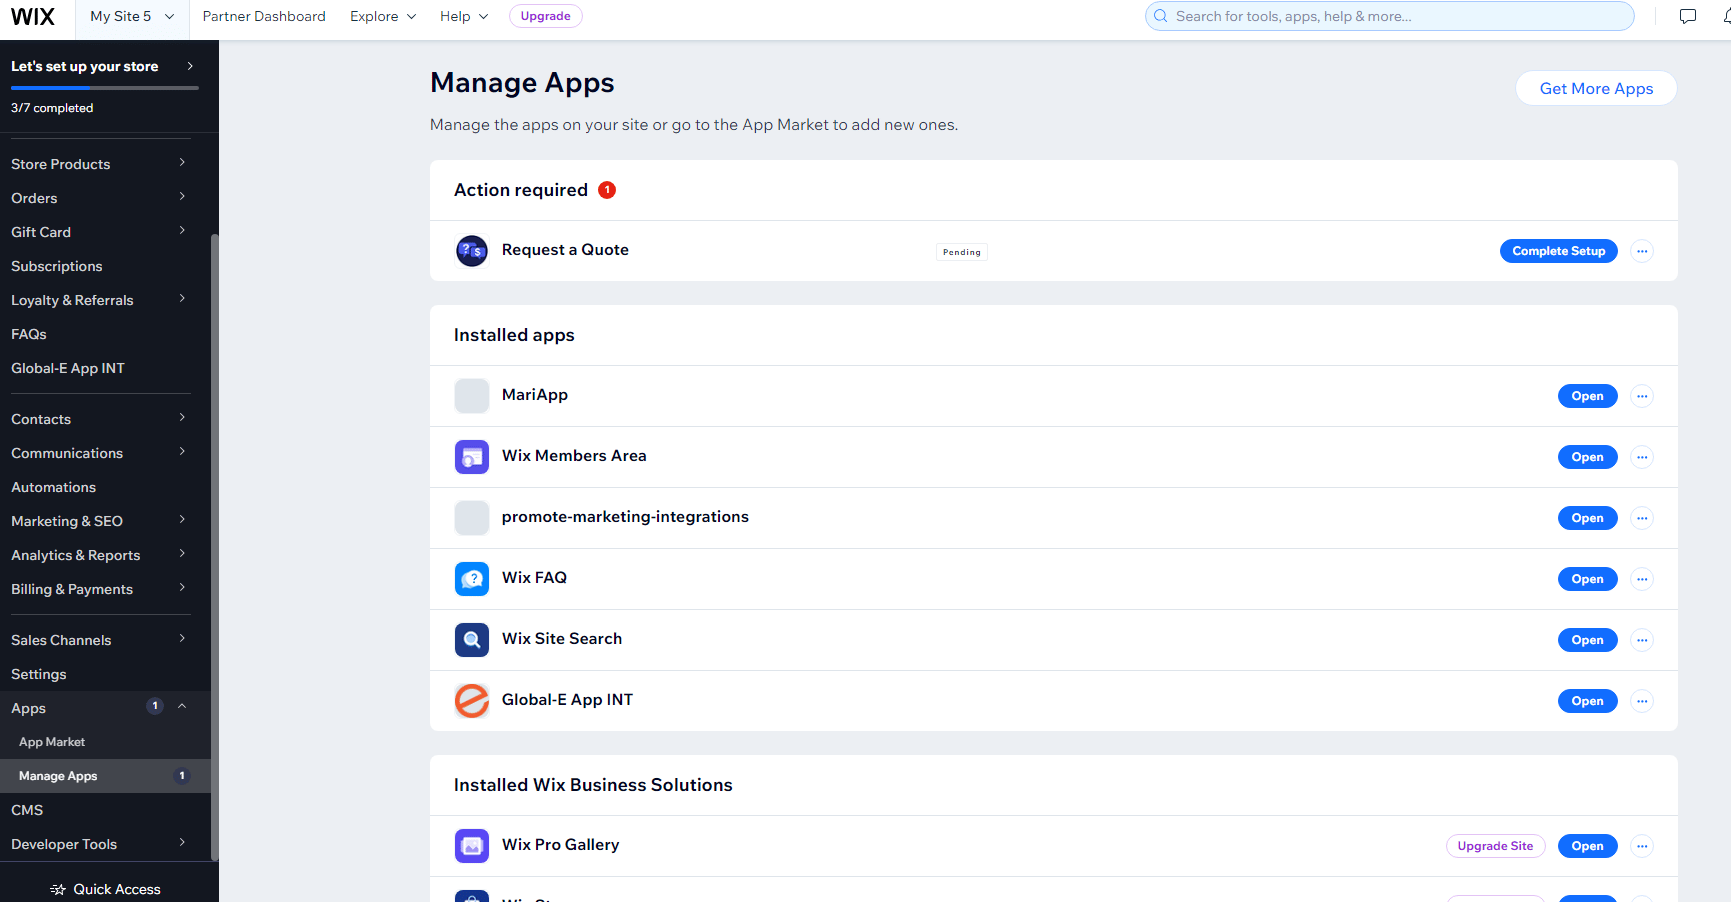 2. Go to**Global-E App INT** and click on the three dots.
 3. Click**Delete**.
A message pops up confirming your request to delete the app.
3. Click**Delete**.
A message pops up confirming your request to delete the app.
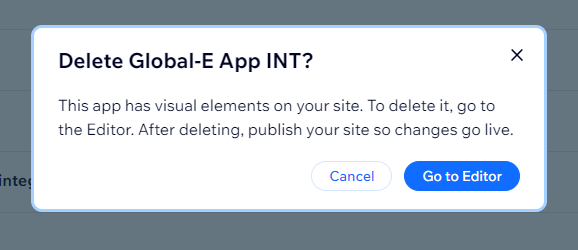 4. Click **Go to Editor**.
A second confirmation message opens asking for your reason for installing the app.
4. Click **Go to Editor**.
A second confirmation message opens asking for your reason for installing the app.
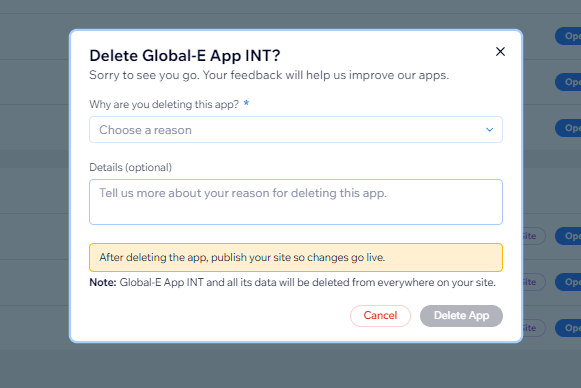 5. Complete the mandatory fields and click **Delete App**.
6. Publish to save the changes.
5. Complete the mandatory fields and click **Delete App**.
6. Publish to save the changes.